This lesson details the steps to uploading an image that you can associate with your Blackboard user name.
1. Click on either the Welcome tab or the Courses tab.
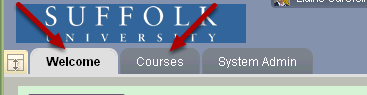
NOTE: You will not see a System Admin tab on your screen
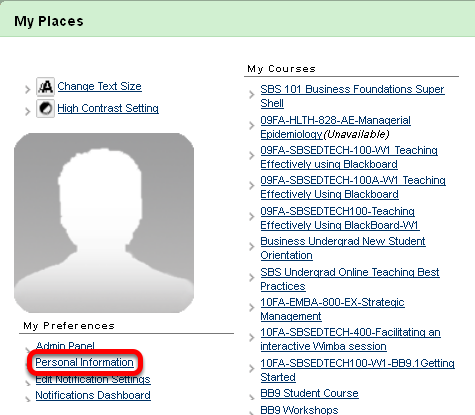
2. Go to the top of the screen and click on My Places

3. Click on Personal Information
4. Select Personalize My Places
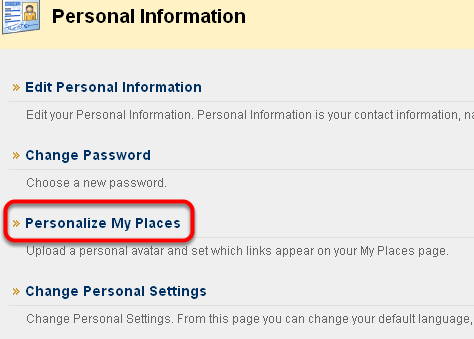
The other options listed on this page have been disabled.
5. Select Use Custom Avatar Image, and then browse your computer for the image you wish to use
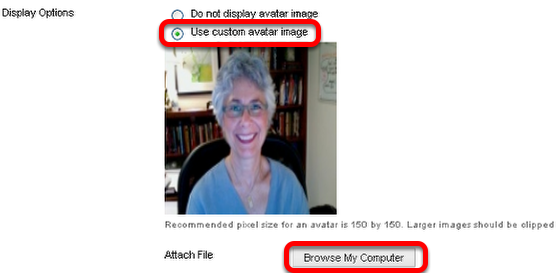
NOTE: Your image should by 150 by 150 pixels, so you may need to resize your image. The file name will appear once it has uploaded.
6. Click Submit.
7. If you refresh your screen, your avatar will appear before your name.

Your photo now appears next to the My Places link, in the My Places area, and throughout the system in select tools such as Individual Blogs and Journals.