This lesson will show you how to add an announcement to your course
Select Annoucnements from the course menu
Or, select Course Tools in the Control Panel and click Annoucements
Click Create Announcment
Add a title to the announcement in the Subject line

You may also choose a different color for your announcement by choosing the contextual color menu to the right of the Subject line by clicking the carrots and choosing another color.
Add the text of your announcement in the Message box
Optional: Choose Duration, Date Restrictions and Email Notification
1. By default, Date Restricted is selected. If no dates are filled in Select Date Resrictions, your announcement will appear immediately. To make your announcement Permanent, choose the Permanent radio button.
2. Fill in appropriate dates in Select Date Restrictions ONLY IF you would like to restrict the dates that the announcement is available to students. You may choose a "Display After" date without choosing a "Display Until" date if you'd like to delay the announcement to a future time but not restrict it's availability after that.
3. Check Override User Notification Settings to send an email version of your announcement to students.
Optional: Click Browse to select a link to a section of your course
Optional: Choose the section from the pop-up menu
Click Submit
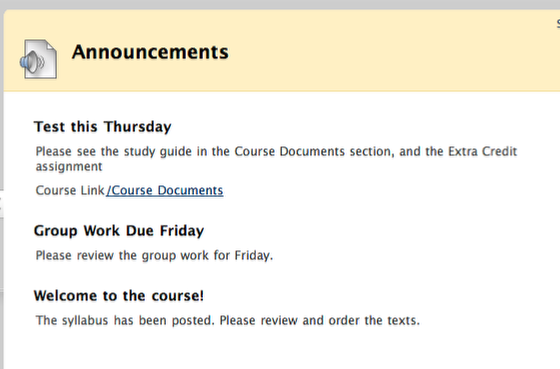
Your announcement has been created and will be listed first
You may reorder the annoucements by choosing the arrows on the left and dragging the annoucement to a different place. You may also choose the carrots on the right to open a contextual menu to edit an existing announcement, or to delete it altogether.
Optional: Switch Edit Mode to OFF to see the student view

View the student view of your announcement
Turn Edit Mode back to ON to continue working in Blackboard.