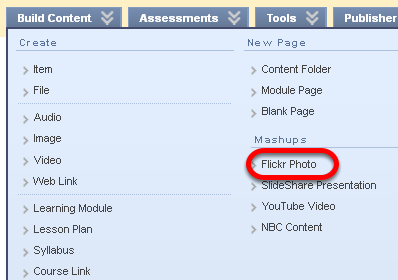
This lesson covers how to find and add images from the popular free image hosting and sharing site, Flickr. Flickr is a "Mashup", and one type of content that is possible to add to a course.
This lesson covers how to find and add images from the popular free image hosting and sharing site, Flickr. Flickr is a "Mashup", and one type of content that is possible to add to a course.
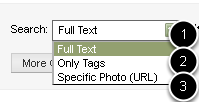
You can search for
1. full text associated with the image
2. only tags that authors have entered (or not)
3. a specific image

NOTE: More Options allows you to search using additional criteria such as the date
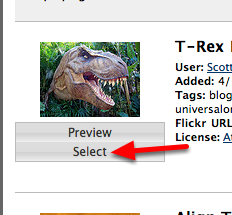
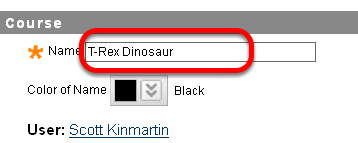
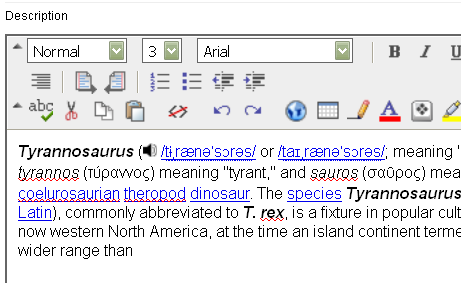
Text added here will appear below the image
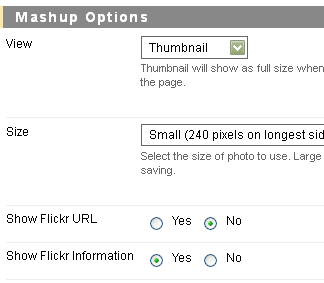
Choosing "Original Size" in the View options can sometimes pull up extra large images that won't display properly in Blackboard.

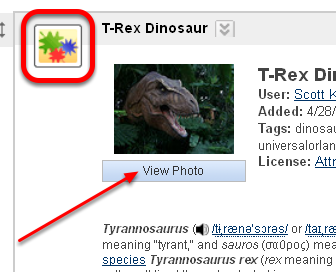
NOTE: the icon that indicates a "Mashup" has been added to the course content.
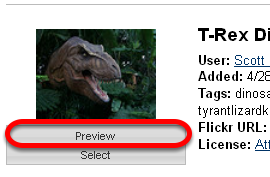
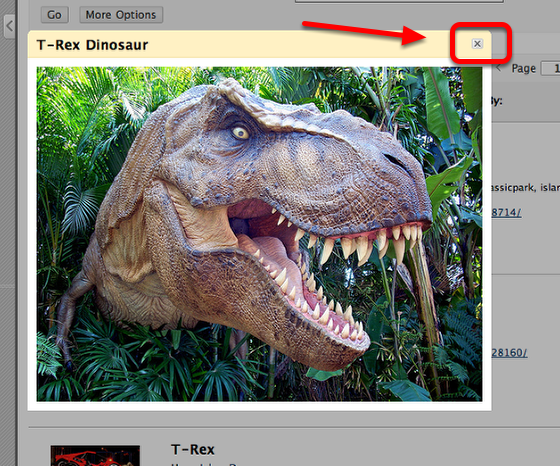
When students click the View Photo button below the thumbnail, they will get the larger preview.