Files can be uploaded from a local drive or the course itself, and can be documents, spreadsheets, pdfs, Powerpoint, text, web, or zip file.
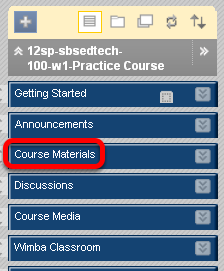
1. Choose the Course Area to which you would like to add a file and click on it
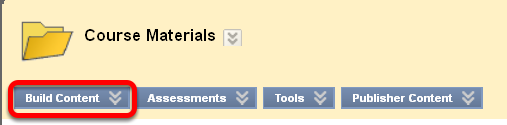
2. Click Build Content
3. Choose Item from the Drop Down Menu
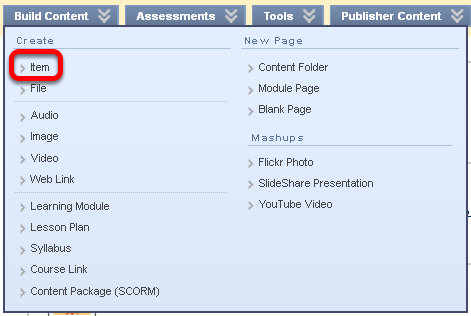
NOTE: Creating an Item allows you to add a description of the file, whereas Creating a File (the second option above) you cannot add a description.
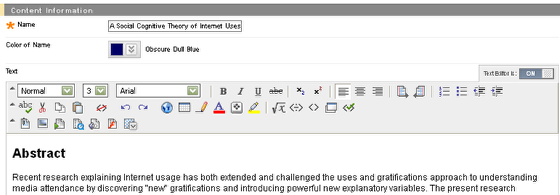
4. Enter a name for the file and and explanatory text as desired
5. Browse in order to Attach a File
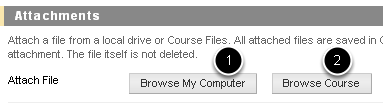
1. Look for a file on your computer
2. Browse you course for an item previously uploaded to this course
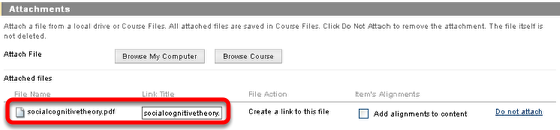
6. Once the file is selected, you will see it listed
7. Select the Options as desired
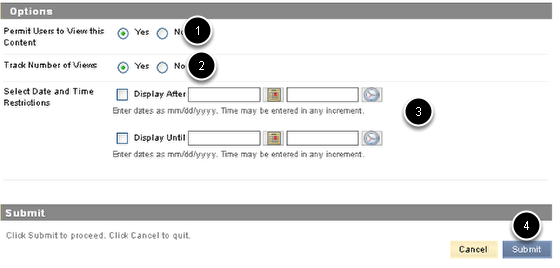
1. Decide if you want students to see the file immediately once it is uploaded
2 Allows you to track when and whom is looking at the document
3. Optionally select dates and times the document will appear to students
4. Click Submit to add the document to the course