...
1. Go to the Logitech Webcam 9000 website
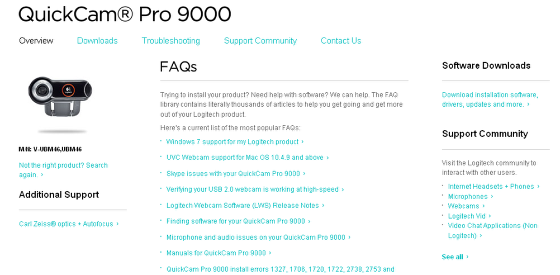
Logitech Webcam Pro 9000 website address - http://www.logitech.com/index.cfm/435/6333&cl=us,en?section=downloads&WT.ac=sc![]()
2. Click Software Downloads link
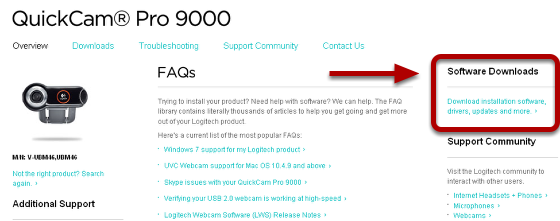
On the website click the link under Software Downloads which says " Download installation software, drivers, updates and more...".
3. Select Operating System
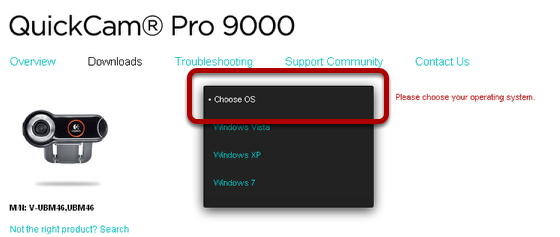
On the downloads page, select the Choose OS drop down menu and pick the operating system of your computer
4. Select the File
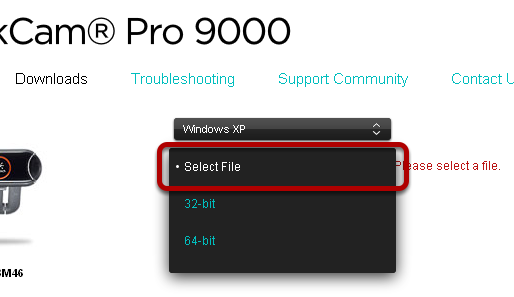
Click on the Select File drop down menu and choose the 32-bit option. Choose 64-bit only if you are certain that you have a 64-bit Windows system
5. Click on the Download button
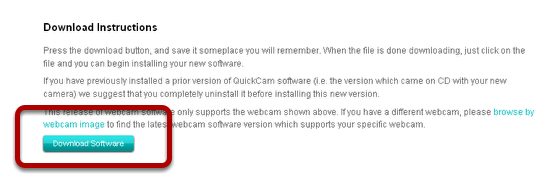
Scroll to the end of the page and look for the Download Software button
6. Save the File and launch
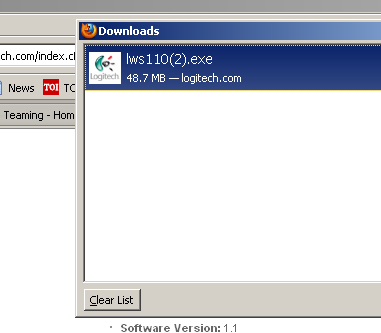
You will be prompted to save the file to a location on your computer. Save the Logitech software file on your computer and then double click on it to install the software.
7. Run the installer
Double click the downloaded file and follow the prompts on the screen.
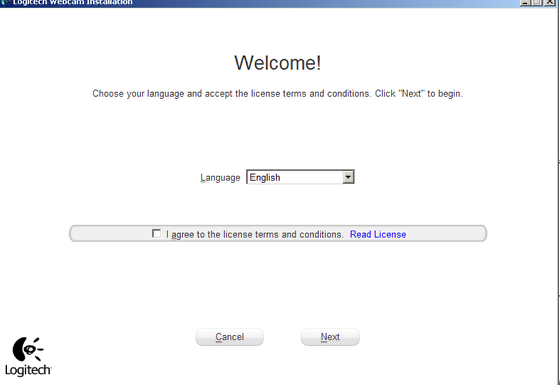
1. On the Welcome page check the terms and conditions and click next
2. On the next page connect your webcam to your USB port on your computer. When it says connected, you can click next.
3. Next select the webcam software to be installed
4. Follow the prompts until you finish the installation process.
8. Installation Complete
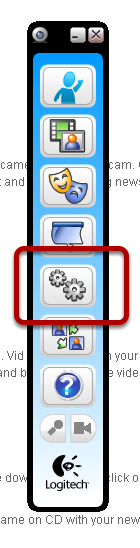
Once the software installation is completed, a Logitech tool bar similar to the one above will open up on your computer. This confirms you have successfully installed the software. Using the Logitech tool bar, you can change the settings of your webcam and fine tune it to record crystal clear audio and video.