| Anchor | ||||
|---|---|---|---|---|
|
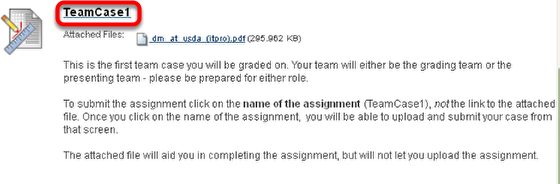
This lesson covers how to create an Assignment which will allow students to submit documents to the instructor for review and grading. Please note that the icon for Assignments is different than that for a document. You cannot just create a regular document and call it an assignment, and have a way for students to submit the assignment.
1. Go to the area of the course containing assignments and click on the name of the assignment
2. You will be previewing the assignment at this point
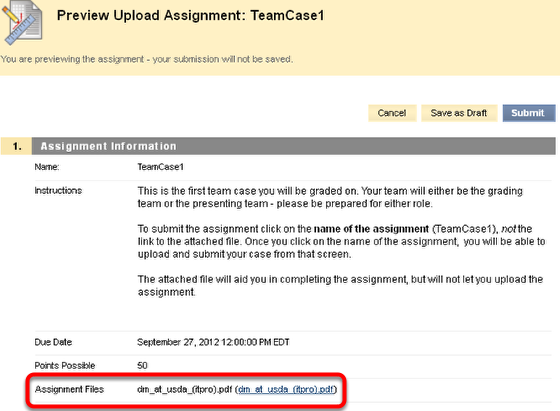
At this point, the assignment file itself can be downloaded.
3a. Once the assignment has been completed, it can be entered directly into the box below.
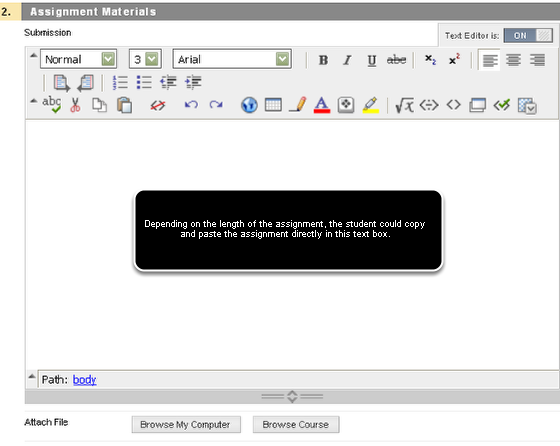
3b. More commonly, students will complete the assignment, save it as a document, and then browse in order to upload it
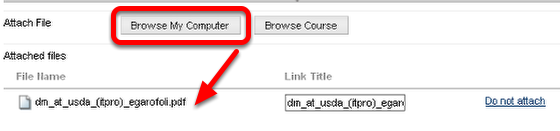
It is good practice for students to upload homework assignment with the name of the original assignment, followed by an underscore and the first initial of first name followed by their complete last name.
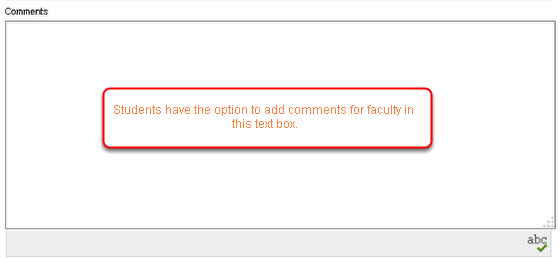
4. Students have the option to add comments for faculty to read
5. The student clicks Submit to automatically send the document to faculty via the Gradebook

6. Students can check the status of their grades by selecting My Grades from the Course Menu
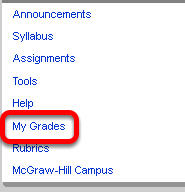
Alternatively, students can access grades by going to Tools in the course Menu, followed by My Grades. Students will see only their own grades.
7. For faculty, all students assignments will appear in the Grade Center with the exclamation point as seen below

| Anchor | ||||
|---|---|---|---|---|
|